Setting Up Your N+One Account: A Walkthrough for First-Time Cyclists
5 min read

Create your N+One account, verify email, complete your rider profile, connect devices or apps, set goals, and log a short ride to confirm setup.
On this page
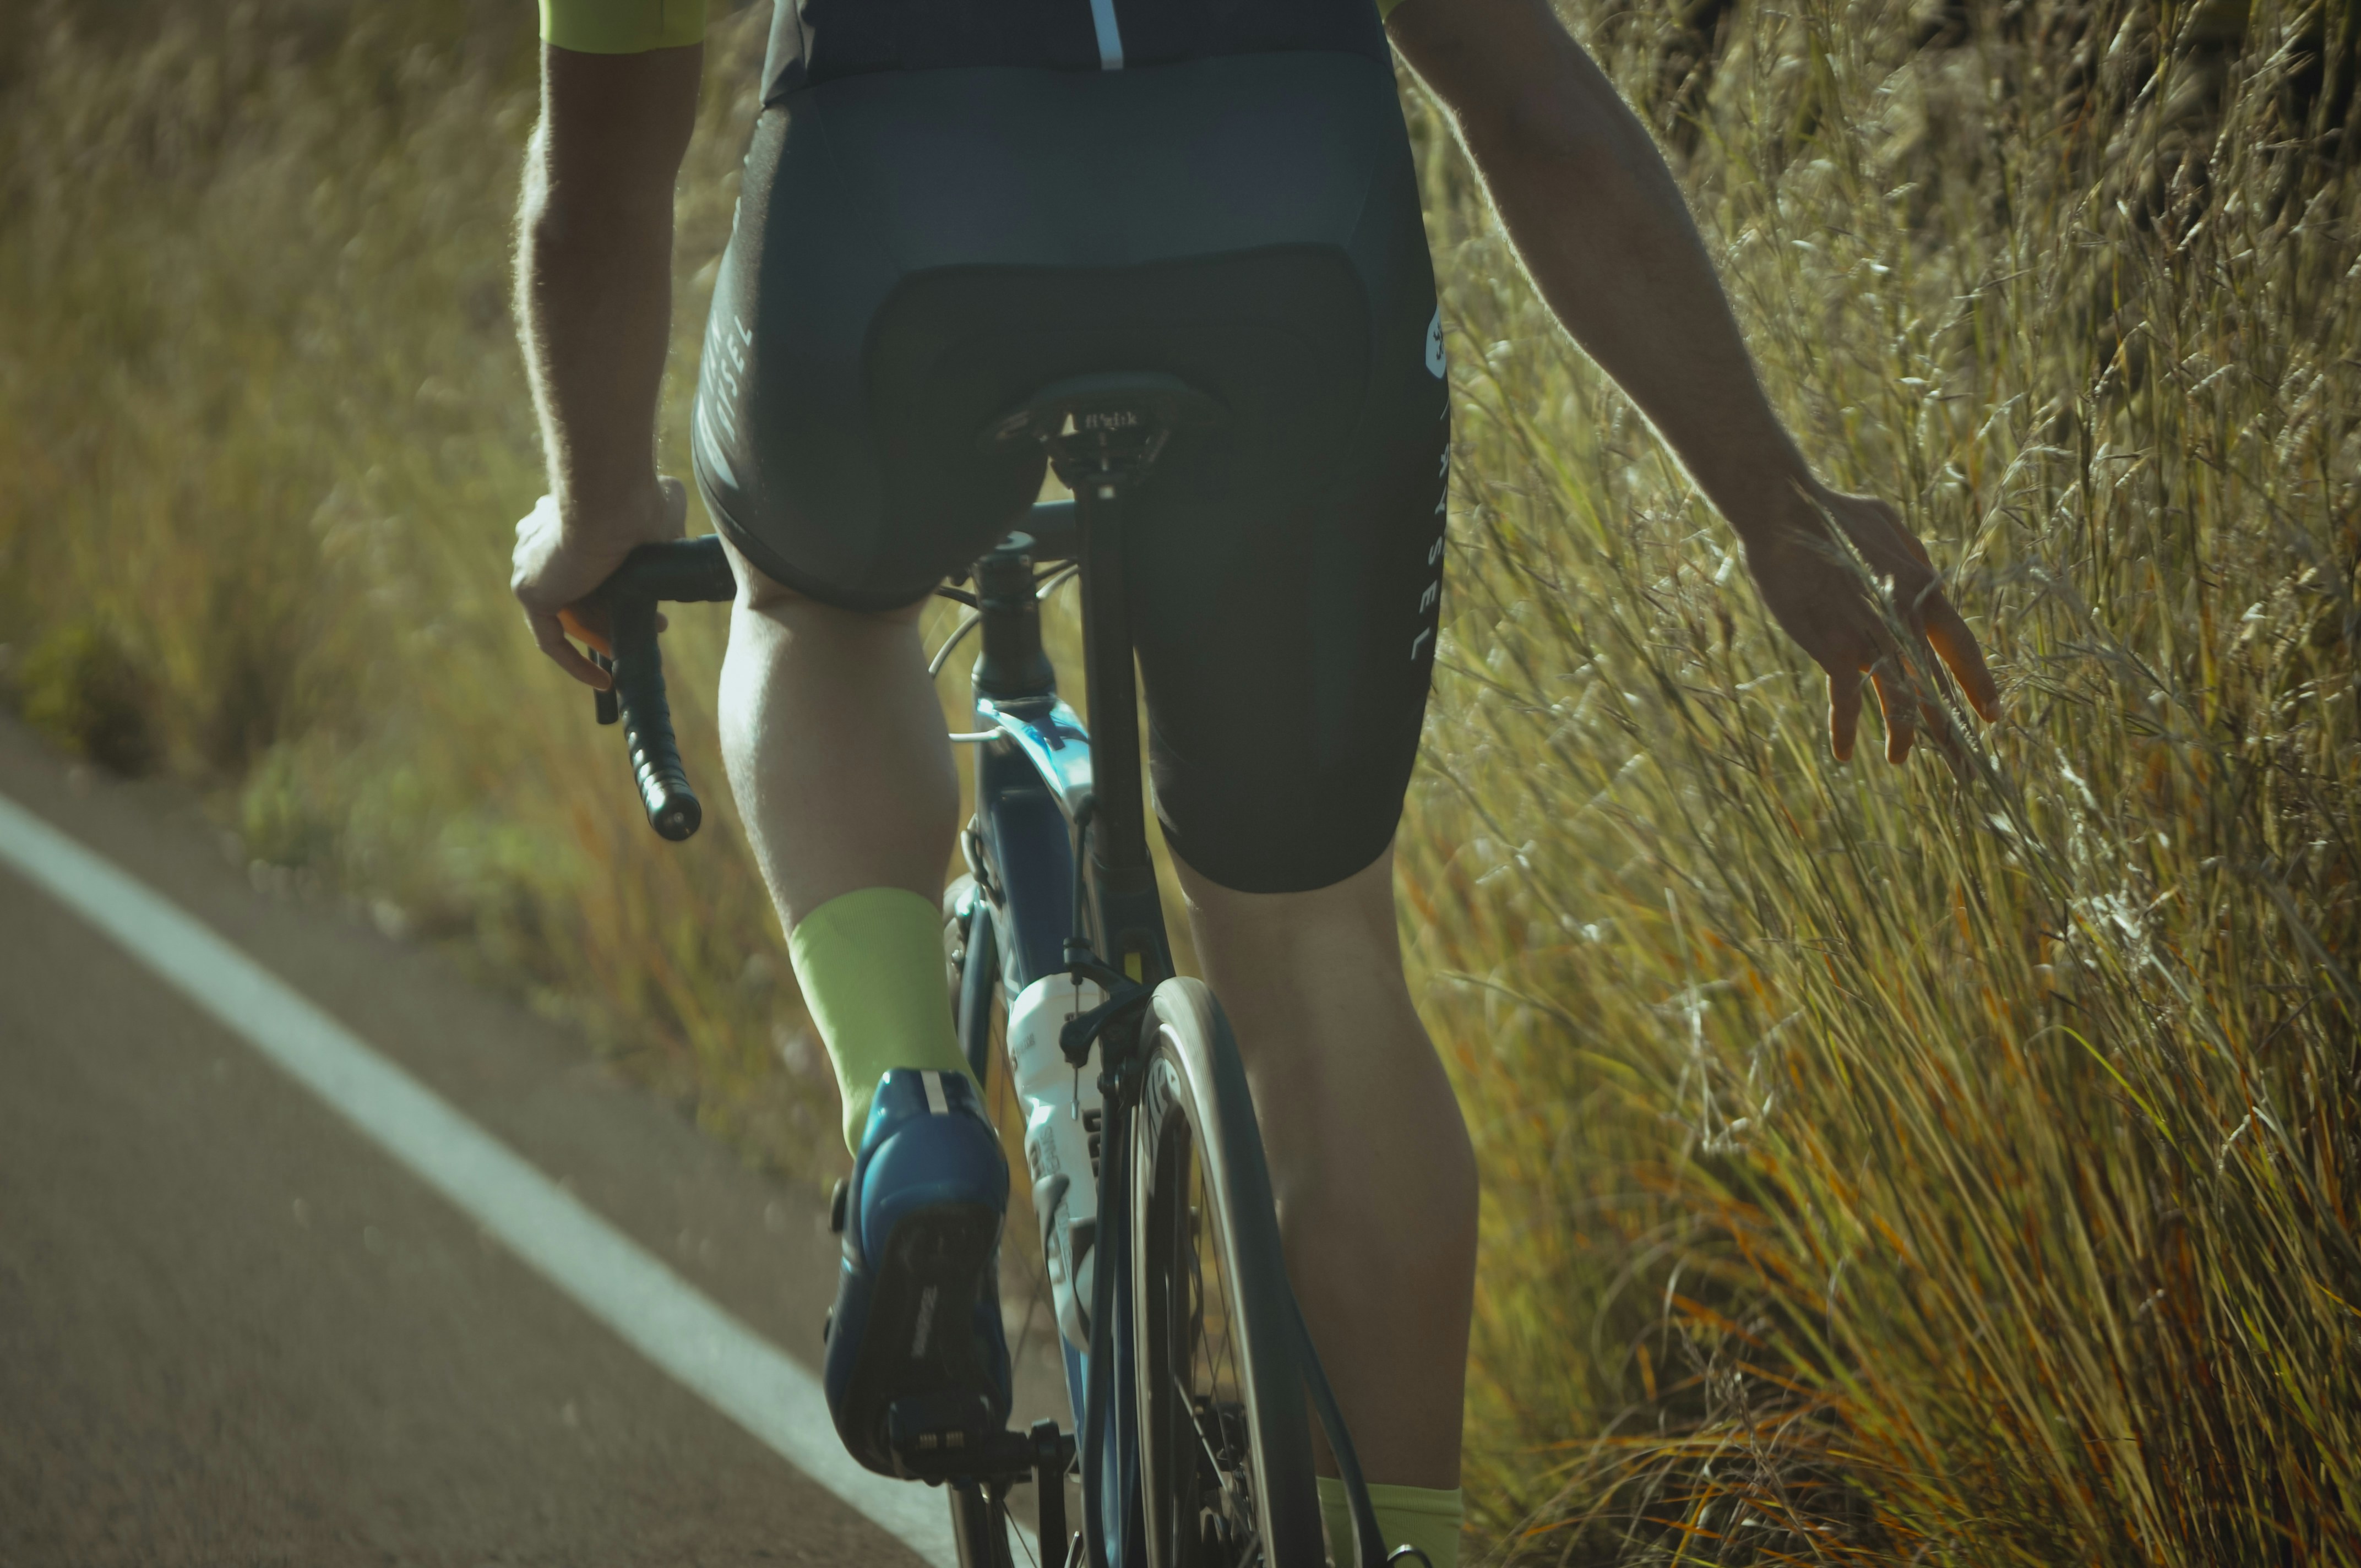
Photo by Judit Murcia on Unsplash.
Create your N+One account, verify your email, set your profile, connect one data source, then log a short ride to confirm data flow.
This walkthrough keeps setup narrow and useful. You will enter the few details N+One needs, connect ride data, and check the first plan before you trust it.

Photo by Creed Ferguson on Unsplash.
Your N+One account is the front door to the training system. The details you enter shape ride suggestions, weekly load, and how progress is shown.
Setup does not change your body or replace judgment. It changes the inputs N+One reads, so the next ride better fits your current data.
If you are new, start with profile and training goals, then use first login and onboarding to check the core screens.
Enter a real training week, not your best week.
Set one main goal before adding side aims.
Check that recent rides match what you actually did.
In N+One terms: good inputs make the system give usable next rides.
Good inputs make the system give usable next rides.
Start by signing up with an email you check often, or use your usual single sign-on choice. Open the email link before you move on.
Some account features may stay locked until email verification is done. This is normal, and it helps keep the account tied to you.
Next, fill in your rider profile with plain, current details. If you use two-factor login elsewhere, review strong account sign-in after setup.
Sign up with email or single sign-on.
Verify the email before linking devices.
Enter current age, weight, and typical weekly hours.
Add FTP or zones only if you know them.
Create and verify your N+One account with a working email before connecting devices.
Data analysis is free, forever. The Dynamic Coach is Pro. Connected to Garmin, Strava, Whoop, and intervals.icu.
Connect one data source first, not every device at once. A trainer, power meter, or Strava link is enough to prove the path works.
After linking, look for one recent ride and check the key fields. Duration, power, heart rate, cadence, and distance should look sane.
If you use Strava, follow the steps in checking Strava ride sync. Use how power data enters plans if you want the deeper system view.
Connect the power source or trainer first.
Add heart rate after the first sync works.
Check one ride before adding more apps.
Fix odd files before trusting the plan.
In N+One terms: reliable sensors give the system a stable measurement baseline.
Reliable sensors give the system a stable measurement baseline.
Choose one main aim for the first block, even if you ride for many reasons. A clear goal keeps the first plan from pulling in too many directions.
Add the days you can ride, then mark which days suit harder work. This helps N+One shape sessions around life, not just fitness data.
For a broader view of the home screen, use your home dashboard overview. Then scan weekly plan building basics when you want to know why sessions land where they do.
Pick one main goal for now.
Add real weekly ride time, not hoped-for time.
Mark the days that fit harder sessions.
Choose the coaching emphasis that matches this month.
One tactical email with training ideas and product updates. No spam — unsubscribe anytime.
Keep reading
- Welcome to N+One — Get started with N+One: an AI cycling coach for adaptive training, readiness and recovery. Learn where to go next in the Beta web app.
- Easy AI Cycling Coach — How N+One Makes Coaching Accessible — N+One is an easy AI cycling coach that turns complex training science into simple, personalized daily guidance. Learn how conversational AI, adaptive...
- Comparing Two Workouts Side‑by‑Side in N+One: A Cyclist Walkthrough — Step through a focused side-by-side comparison of two rides in N+One, compare the same metrics, check context, and choose one clear next move.
Import recent rides if you have them, or enter one steady baseline ride if you do not. The goal is a clean starting point, not a perfect history.
After import, compare the platform view with what you remember from the rides. If a file looks strange, fix the source before you follow new work.
Use the 60-second dashboard scan to check the main tiles quickly. If you need app access away from your desk, set up offline use on your device.
Import recent rides when they are clean.
Use one steady ride if history is missing.
Check weight and device settings if load looks off.
Do not judge the plan from bad data.
For the first week, keep the work simple and easy to check. Ride enough to test the system, but do not chase every suggestion at once.
Use two steady structured sessions and one longer aerobic ride, if that fits your usual week. Log how each ride felt right after you finish.
If you want day-to-day guidance without second-guessing, let N+One translate your latest training and recovery context into one clear next decision.
Keep intensity familiar during week one.
Trim total riding compared with your usual week.
Do two steady structured sessions.
Add one longer easy ride if it fits.
Log effort after every ride.
This first week confirms setup before you ask the system for sharper calls.
The first week is a data check, not a test of toughness.
Most setup issues come from missing permissions, duplicate data, or one odd ride file. Start with the last thing you connected, then test again.
If rides are missing, re-sync the app or upload the ride file by hand. If power or heart rate looks wrong, check the device, then re-import a test ride.
When the account still looks wrong, send support clear notes and screenshots. Include the profile screen, the linked app, and one ride file if you can.
Re-sync the app when rides are missing.
Upload the ride file by hand if needed.
Check device settings before changing the plan.
Send screenshots when support needs context.
Step 1 — Create account: Sign up with email or single sign-on, verify your email, and choose a password you can use on devices.
Step 2 — Complete profile: Enter age, weight, typical weekly hours, and one primary goal so recommendations start aligned.
Step 3 — Connect devices: Pair your power meter or trainer first, then connect heart-rate sensors and ride apps for imports.
Step 4 — Import recent rides: Pull in recent rides if available, or upload one steady baseline ride to seed the system.
Step 5 — Review baseline: Check the platform’s fitness or load estimate, then correct profile or ride data if it feels off.
Step 6 — Set availability and preferences: Enter ride days, preferred hard days, and coaching emphasis so plans fit your life.
Step 7 — Execute the first-week plan: Keep intensity familiar, trim total riding, do two steady structured sessions and one longer aerobic ride if it fits. Log perceived effort and recheck settings before week two.
Set up N+One in this order: create and verify your account, complete your rider profile, connect one data source, choose one goal, import or log a short ride, then review the first plan before you build on it.
No. A power meter can give useful ride data, but you can start with another supported source, such as a trainer app or connected ride file. The key is to connect one source first and confirm that data flows cleanly.
Leave it blank or use only values you trust. A guessed number can push early suggestions the wrong way, so start with clean ride history and update zones when you have better data.
No. Connect one main source first, confirm a ride imports correctly, then add more sources only if they serve a clear purpose.
Check profile details, goal choice, weekly availability, and imported ride data before changing the plan. If the inputs are right and it still feels off, trim the first week and contact support with screenshots.
Ready to optimize your training? Explore N+One.