Lactate-Threshold Testing Without a Lab: Field Protocols for Amateur Cyclists
5 min read

Estimate lactate-threshold intensity without a lab using repeatable field tests for amateur cyclists, plus one clear next training decision from your result.
On this page
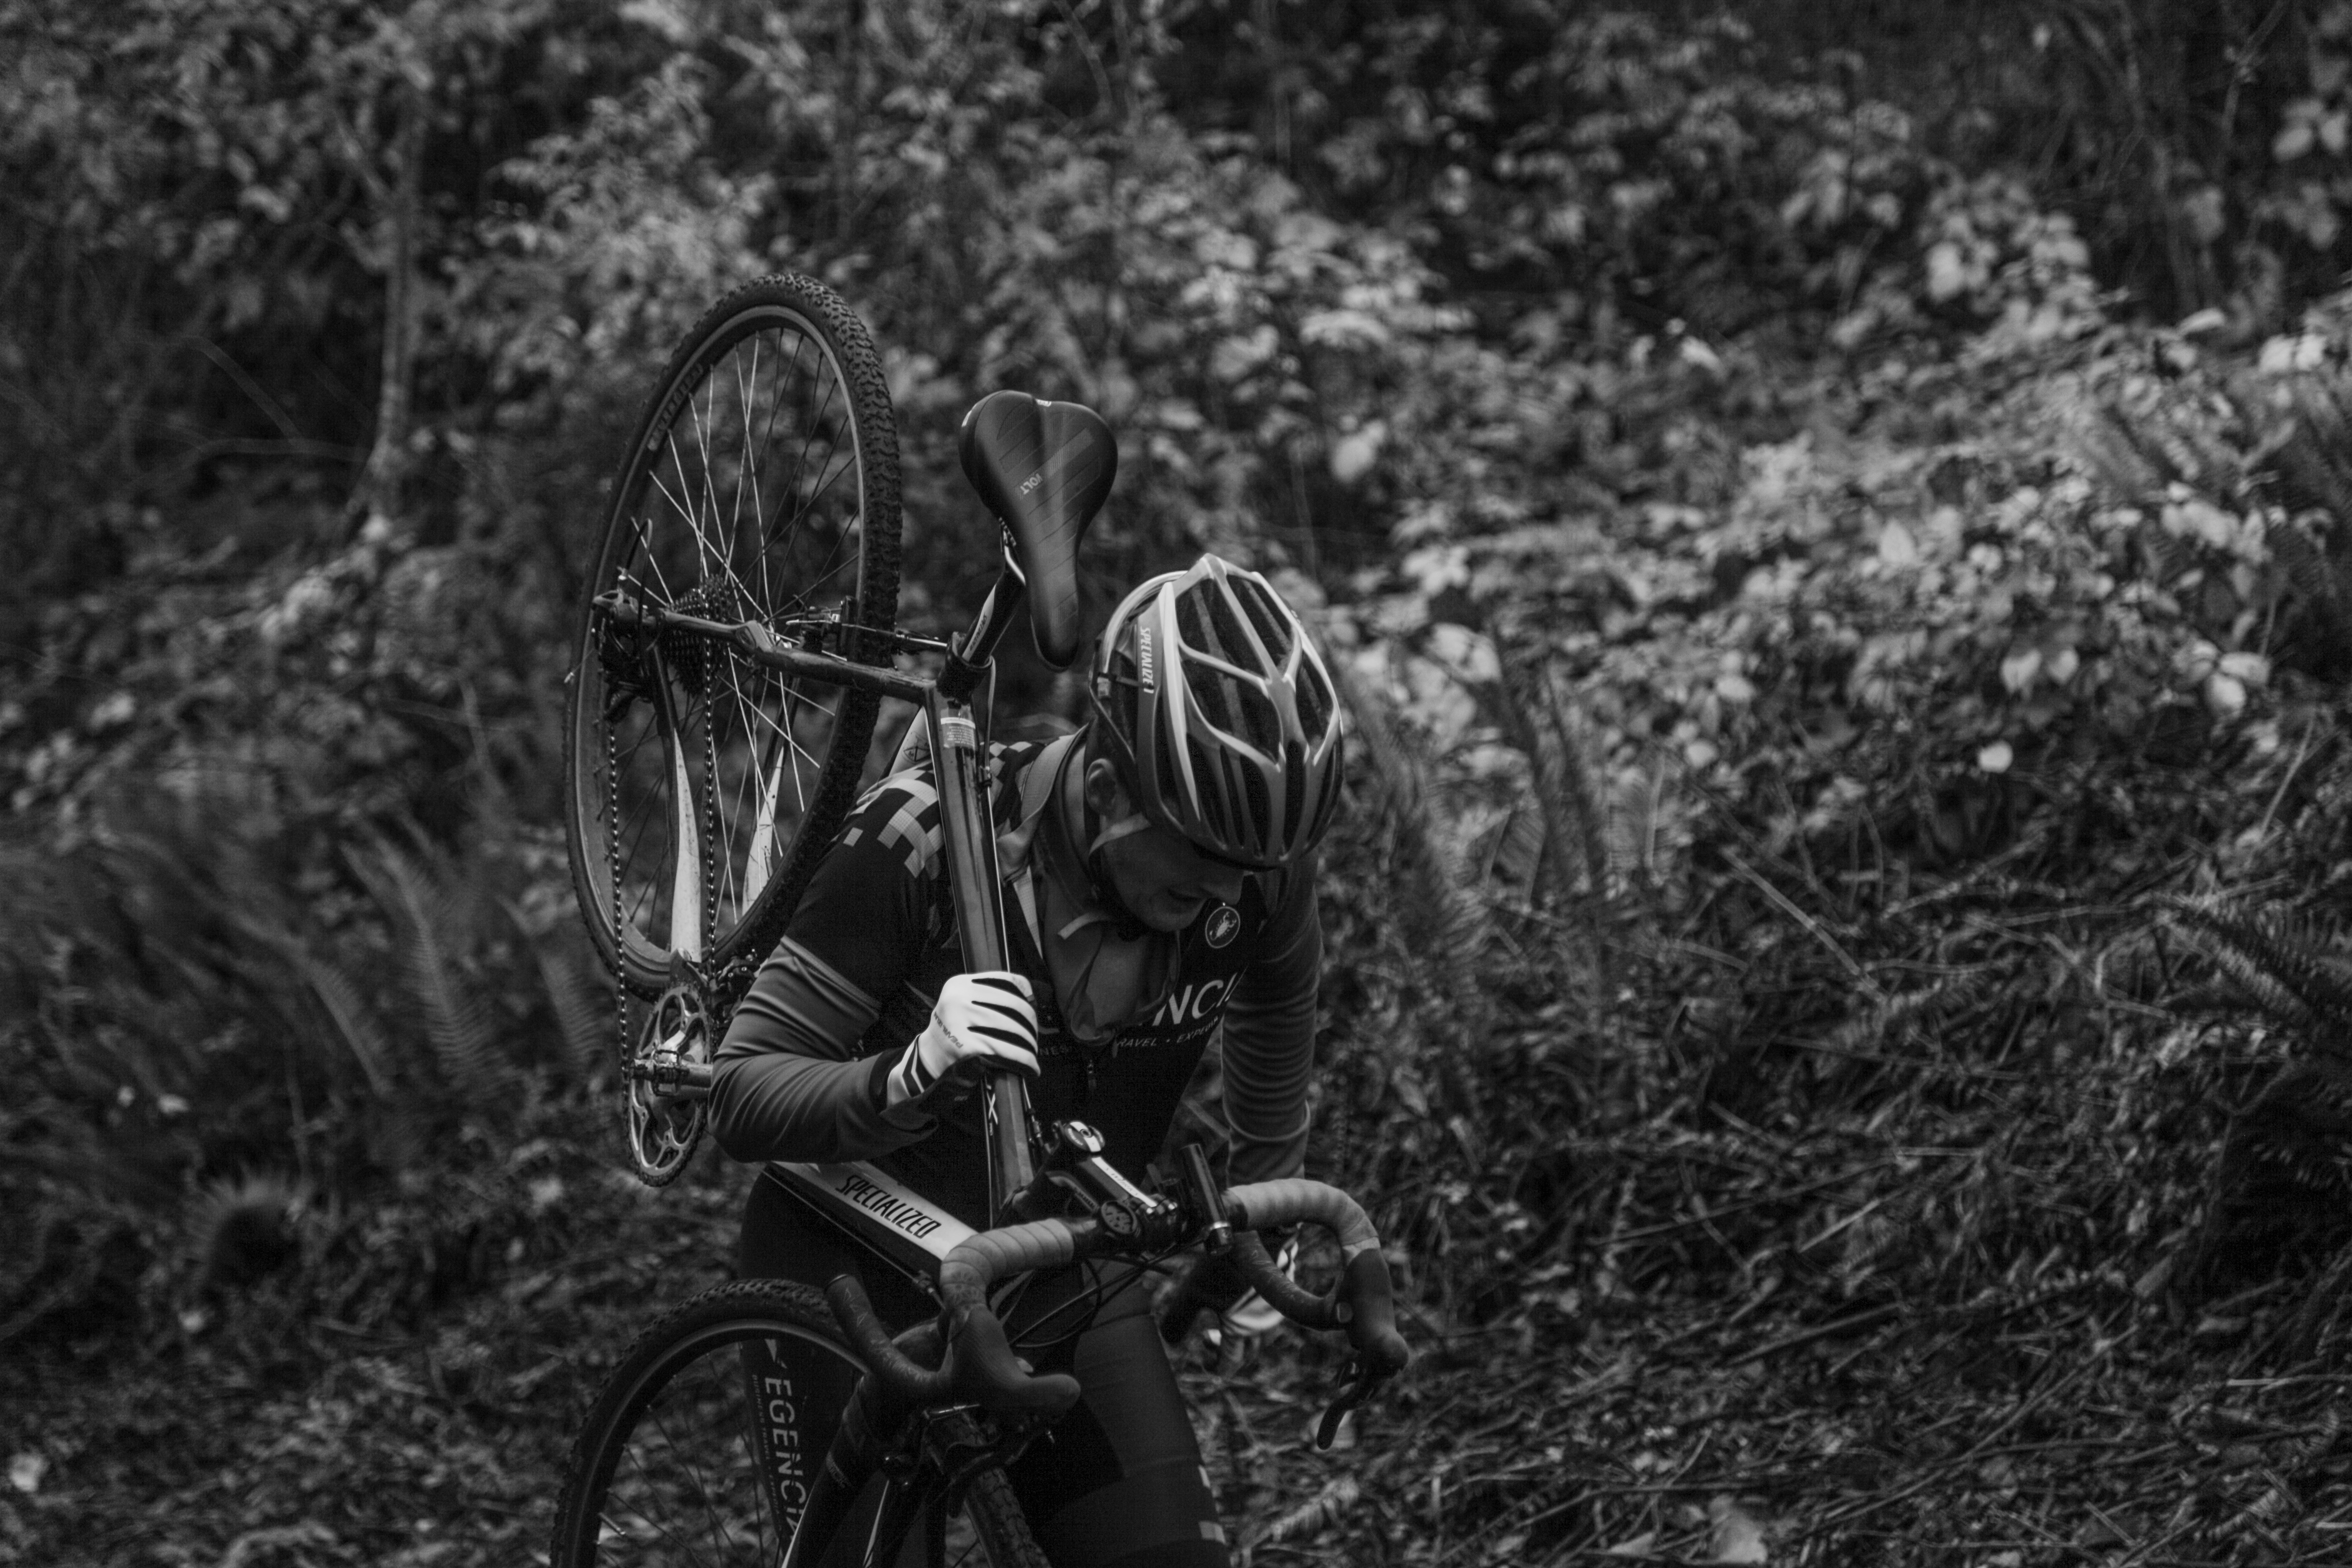
Photo by Nick Bolton on Unsplash.
You can estimate lactate-threshold intensity without a lab using one repeatable field test and a clear next decision.
Lab lactate testing is the most direct way to map blood lactate response, but most amateur cyclists need a useful training anchor, not a full lab curve. Field tests estimate lactate-threshold intensity through controlled hard efforts, so the result should guide training zones while staying open to repeat checks.
A field test works because it holds you near a hard, steady load long enough to expose your current threshold signal. It does not measure capillary lactate unless you use a portable lactate meter, so the result is still a proxy.
That proxy can be useful when the setup stays the same. Route, wind, heat, sensor setup, sleep, and pacing can all shift the number you see.
Use the result as one part of the wider threshold picture. If you want the model behind that anchor, lactate threshold and reserve explains how threshold links to work above it.
Use the same bike, route, and warm-up when possible.
Log weather, sleep, fueling, and perceived effort.
Treat one poor test as signal plus noise, not a verdict.
Repeat the same protocol after a clear training block.
The goal is not a perfect number; it is a stable decision point.
In N+One terms: you are trading lab precision for a repeatable field signal you can act on.

Photo by Mike Cox on Unsplash.
If you have a sound power meter, your clearest next move is a 20-minute maximal steady time trial. Use the mean power from that effort, then apply the common FTP-style conversion used in field practice.
This is not the same as drawing a lab lactate curve. It is a training estimate, and its value comes from repeating the same test under close conditions.
Pacing matters more than drama. Start firm but controlled, settle into hard pressure, and avoid early surges that make the last minutes collapse.
If your field number often clashes with a lab result, compare the assumptions in why FTP and lab threshold differ. For a broader metric view, critical power versus FTP can help explain why tests disagree.
Pick a low-traffic road or a steady indoor trainer.
Warm up before the test; do not start cold.
Ride 20 minutes as hard and steady as you can sustain.
Avoid drafting, stop signs, and sharp grade changes.
Save mean power, heart rate, RPE, and notes.
Three practical field approaches: 20-minute maximal steady test (FTP-style), multi-stage step/ramp tests (with portable lactate meter if …
Data analysis is free, forever. The Dynamic Coach is Pro. Connected to Garmin, Strava, Whoop, and intervals.icu.
Heart rate can still guide training when power is not available. It is slower to respond than power, so the test must be steady and well paced.
Ride a 30-minute maximal steady effort after a warm-up, then use the later steady portion as your threshold heart-rate estimate. Keep the setup plain, because heat, stress, and fatigue can raise heart rate on the same workload.
This number should shape zones, not lock you into blind rules. Pair heart rate with breathing, leg feel, and the same course each time.
If heart rate rises while power feels flat, that may point to fatigue or heat rather than a sudden fitness change. The same idea sits behind heart-rate drift and aerobic base.
Use a reliable strap or sensor you trust.
Avoid testing in extreme heat or heavy fatigue.
Hold pressure steady instead of chasing early speed.
Record the average heart rate from the steady finish.
Retest before changing many zones at once.
A step or ramp protocol raises load in set stages, then watches how your response changes. With a portable lactate meter, it can also pair each stage with a capillary lactate sample.
Use this route when you want closer alignment with lab-style staged testing. It takes more discipline than a single time trial, because each stage must be controlled.
Without lactate sampling, a step test still gives useful training clues from power, heart rate, and perceived effort. It is less simple than the 20-minute test, so use it only when the extra detail helps.
One tactical email with training ideas and product updates. No spam — unsubscribe anytime.
Keep reading
- Training for Masters Cyclists (40+): Age‑Adapted Strategies for Sustainable Performance — Practical, science-based training for cyclists 40+. Learn how to preserve VO2max, fight sarcopenia, prioritise recovery, and use adaptive plans to ke...
- How Long Should a VO2max Block Last? Periodization for High‑Intensity Phases — Most VO2max blocks should last 2–6 weeks. Learn when to use 2–3 weeks, when 4–6 weeks fits, and how to stop before fatigue hides progress.
- Sustaining VO2max Gains in the Off-Season: A Maintenance Approach for Cyclists — Learn how cyclists can maintain VO2max gains in the off-season with one clear weekly plan: keep intensity, cut load, and protect recovery.
Power shows the external work. Heart rate shows part of your internal strain, while perceived effort catches signals that sensors miss.
When all three line up, the test result is easier to trust. When they split, the split is the clue you should review before changing zones.
Low power with high heart rate can come from heat, poor sleep, stress, or a hard week. Strong power with oddly low heart rate can also reflect sensor error or a pacing pattern that needs checking.
Once you set a threshold anchor, choose workouts that match the block. For hard aerobic work near the ceiling, place 30/30 VO2 max intervals away from threshold test days.
Riders using lactate-guided work may also want the Norwegian threshold method for amateurs, which explains how repeated controlled work can fit real training.
Use fixed stages and keep each stage steady.
Sample lactate only if you have the tool and skill.
Stop if pacing falls apart or the target cannot hold.
Do not compare ramp results against time-trial results directly.
In N+One terms: more data only helps when the test stays cleaner than the question.
Make power the main target when the meter is sound.
Use heart rate to check strain and drift.
Use RPE to flag bad pacing or poor readiness.
Review sensor setup before blaming fitness.
Keep hard interval days separate from test days.
Your test should clarify the week, not add noise to it.
Your next move should be small and clear. If the result is clearly better than your last comparable test, update zones and keep the planned intensity.
If the result is flat or lower, do not assume your threshold vanished. Hold intensity in place, cut total work for a short recovery window, then test again when the system is fresher.
This matters in late-season riding, when races, group rides, shorter daylight, and accumulated fatigue can blur the signal. A lower test after a dense block may reflect recovery debt rather than lost fitness.
If you are choosing what comes next, threshold and VO2 max sequencing can help place the test inside your autumn or base transition.
If clearly improved, update zones by the same relative change.
If flat or lower, keep intensity targets unchanged.
Cut weekly volume by about one fifth for seven days.
Check sleep, fueling, stress, and recent hard days.
Retest after recovery before a major plan change.
If you want day-to-day guidance without second-guessing, let N+One translate your latest training and recovery context into one clear next decision.
A threshold field test is a hard workout, so do not stack it onto a hard week. Put it after easy riding, and avoid turning the warm-up into a hidden session.
Use the same start time, route, tires, pressure, and sensor pairing when you can. Small setup changes can be enough to cloud the comparison.
Eat and drink in a familiar way before the test. This is not the day to try a new meal, new caffeine habit, or a borrowed sensor.
The safest course is boring. Choose low traffic, few stops, good sight lines, and a surface where you can ride hard without weaving or braking.
Avoid hard efforts in the two days before testing.
Check tire pressure, drivetrain, sensors, and head unit.
Choose a flat or steady route with low traffic.
Warm up, test, cool down, then stop the hard work.
Write notes before memory smooths the rough edges.
Seven days before: keep normal easy riding, but do not add extra hard work just to feel prepared. Check your power meter, heart-rate sensor, and preferred test route.
Two days before: avoid maximal efforts and long hard sessions. Your threshold did not disappear; your recovery inputs shifted, so the output can drop.
Day before: ride easy for 30 to 60 minutes with a few short pick-ups if that is normal for you. Eat familiar food, drink normally, and protect sleep.
Test day: warm up, then ride either the 20-minute power time trial or the 30-minute heart-rate steady test on a controlled course. Cool down, then record weather, nutrition, RPE, heart rate, and power.
Days one to seven after: if the result clearly improved, update zones and resume planned intensity. If it was flat or lower, reduce total weekly volume by about one fifth, keep intensity modest, and retest after recovery.
You can estimate lactate-threshold intensity without a lab by running one repeatable field test, logging the context, and making one restrained training change from the result.
No. A field test is a practical training estimate, not a direct lab lactate curve. Its value comes from repeatability, context notes, and clear training use.
Use the 20-minute power test if you have a reliable power meter. Use the 30-minute heart-rate test when power is not available, and expect more day-to-day noise.
Retest after a clear training block or when your workouts no longer match your zones. Keep the same protocol so the trend means more than the single number.
Do not rewrite your training from one poor test. Review fatigue, heat, sleep, fueling, pacing, and sensor setup, then repeat the same test after recovery.