Understanding Training Zones: A Complete Guide to Power, Heart Rate, and RPE
5 min read


AI-generated image
Understand cycling training zones for power, heart rate, and RPE. Learn how to set thresholds, map signals, avoid common errors, and calibrate your next week.
On this page
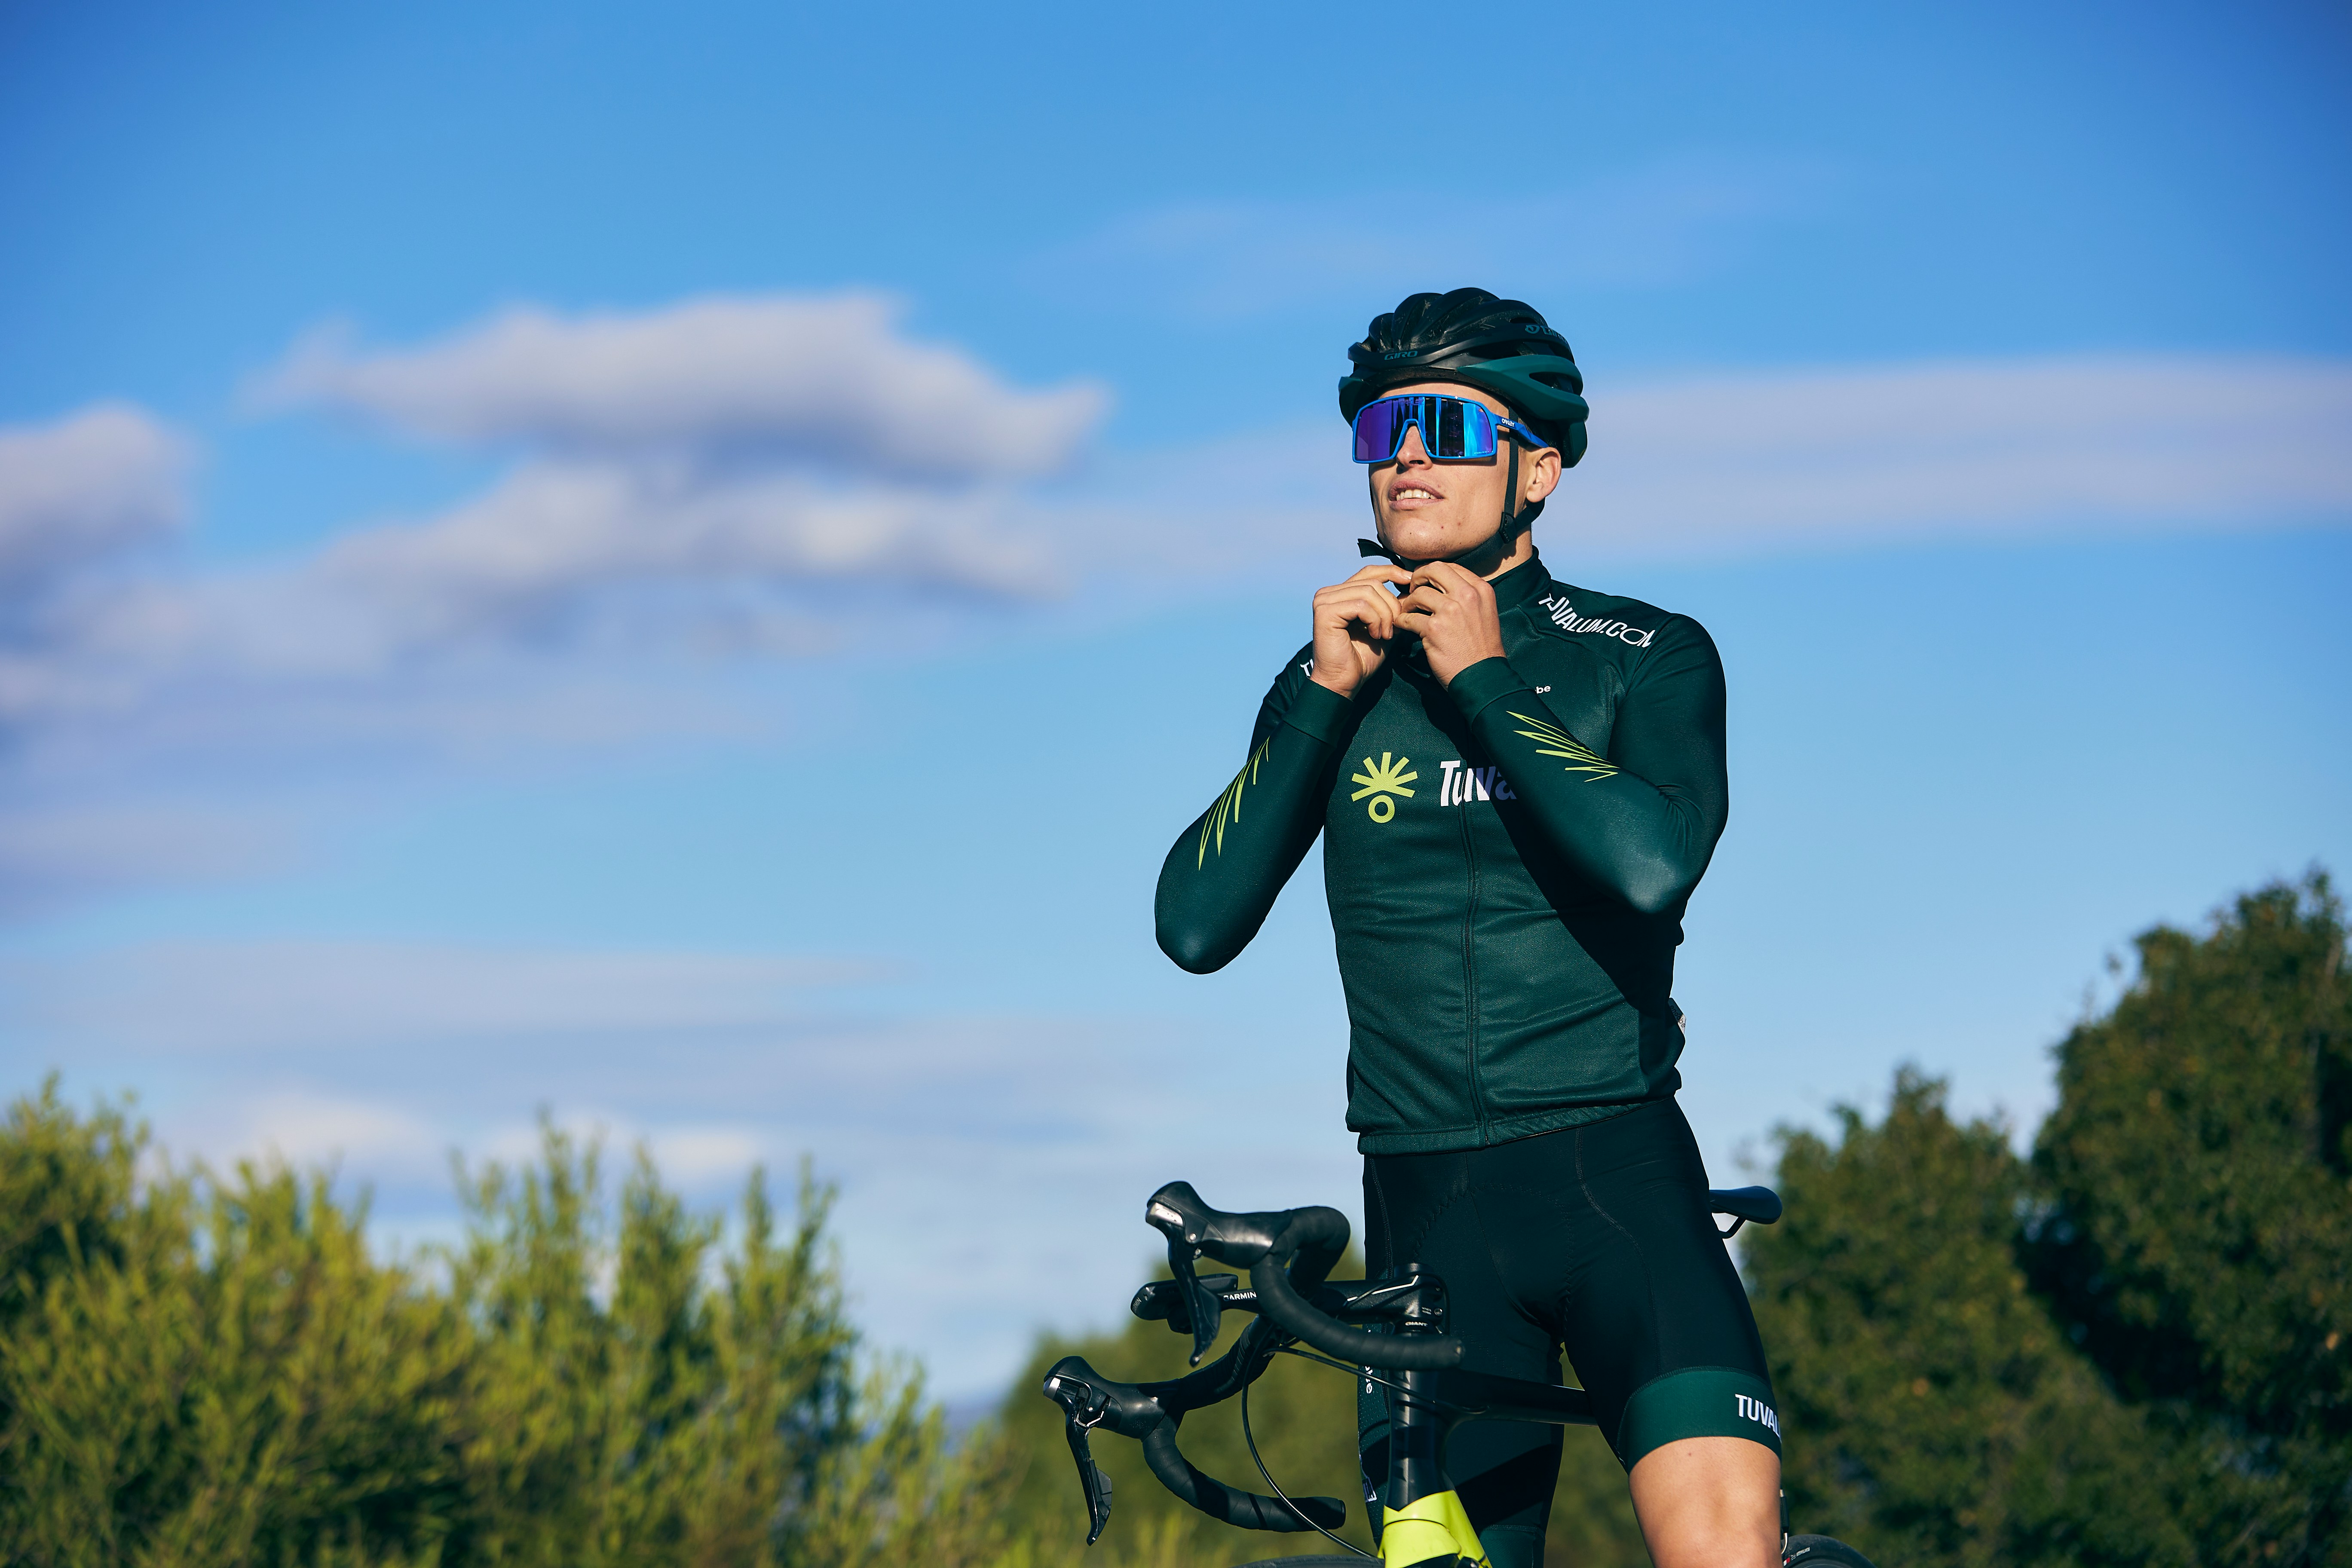
Training zones translate physiology into day-to-day targets. Use power, heart rate, and RPE together to dose the next ride with less guesswork.
This guide refreshes the original article without changing the promise: understand what zones mean, set them with a sound threshold, and use them on real rides. It keeps the focus on cycling practice, not lab jargon, while showing where power, heart rate, and RPE each add value.
Photo by K Atkinson on Unsplash.
Training zones are labels for effort domains, not magic borders inside your legs. They help you connect what you do on the bike with how your body responds.
Power shows the work you put into the pedals, so it is the sharpest guide for pacing intervals. For a deeper power-only view, use how watts shape cycling zones as a companion guide.
Heart rate shows internal strain, but it rises more slowly than power when effort changes fast. If you train through summer heat, heart rate zones in hot conditions can help you read that lag with more care.
RPE is your plain-speech effort check: breathing, legs, focus, and the sense of how long you could keep going. It is not less serious than device data; it is the signal you still have when device data disagree.
Power: use it for pacing intervals and steady targets.
Heart rate: use it for longer efforts and recovery context.
RPE: use it when devices disagree or conditions shift.
Match all three to the session goal before you ride.
This is how zones turn physiology into day-to-day targets.
Power tells you what you did; heart rate tells you how hard your body took it; RPE tells you how it felt.
Your zones are only as useful as the threshold they are built from. A stale threshold makes easy rides too hard, hard rides too soft, or both.
For power, many cyclists use an FTP-style field test or a ramp-style protocol. If you need the trade-offs, compare ramp testing versus longer threshold tests before choosing your method.
For heart rate, use a sustained hard effort when rested and conditions are steady. Heat, poor sleep, dehydration, and recent illness can all bend the heart-rate signal away from the work rate.
For RPE, write down how the test felt in plain words. “Hard but controlled” is often more useful later than a perfect-looking file with no notes.
Pick one repeatable test and keep the setup consistent.
Test when rested, not after a loaded week.
Log power, heart rate, RPE, temperature, and sleep.
Do not reset zones from one odd ride.
Retest after a focused block or clear fitness change.
Zones let you link effort (RPE), output (power), and internal load (heart rate) to specific adaptations.
Data analysis is free, forever. The Dynamic Coach is Pro. Connected to Garmin, Strava, Whoop, and intervals.icu.
Do not force power, heart rate, and RPE to match second by second. Map them by effort domain, because each one tracks a different part of the same ride.
On short hard repeats, power and RPE lead the session while heart rate trails behind. On longer steady work, the three signals should start to line up more closely.
Easy endurance should feel like you could keep talking in short, calm sentences. If you want a deeper base-building frame, see how easy miles build aerobic fitness.
Zone systems can look different while pointing at similar ride purposes. When names clash, matching Coggan, Friel, and polarized zones helps you translate the labels without overthinking them.
Short repeats: steer by power and RPE first.
Steady threshold: check all three signals together.
Endurance: keep RPE calm and heart rate stable.
Recovery: let easy feel easy, even when power is low.
This keeps your next ride clear when the signals do not line up.
Within a session, weight power for precision, heart rate for body strain, and RPE for real-time guardrails.
One tactical email with training ideas and product updates. No spam — unsubscribe anytime.
Keep reading
- Anaerobic Zone Training for Cyclists: When Z6 and Above Earn Their Place — Learn when Z6 anaerobic work earns its place, how to dose sprint efforts, and how to protect recovery while building neuromuscular power.
- Polarized vs. Pyramidal Training: Finding Your Optimal Intensity Distribution — Compare polarized and pyramidal intensity distributions for cyclists. Evidence-based guidance, practical session examples, and periodization advice t...
- Why Your FTP Test Disagrees With Your Lab Threshold — and Which One to Trust — FTP and lab thresholds can disagree because they measure different things. Learn which number to trust for workouts, zones, and retesting.
The most common mistake is treating one metric as the whole truth. Power, heart rate, and RPE are stronger together because each one has blind spots.
If heart rate is high for normal power, do not rush to change your zones. First check heat, sleep, fueling, stress, and whether the ride followed a hard session.
If power feels easy for several similar workouts, your threshold may have moved. Use when to adjust zones after an FTP jump before you chase old targets.
If every endurance ride drifts into a firm, pressing effort, you may be stuck between easy and hard work. Why zones can mislead you explains the trap when the numbers look tidy but the ride purpose blurs.
When HR runs high, check context before changing zones.
When power feels too easy, retest before raising targets.
When RPE feels wrong, log it and reduce guesswork.
When metrics disagree, protect the session purpose first.
Use templates as a starting shape, not a rigid scorecard. The goal is to pair the right signal with the right ride purpose.
For an endurance-focused week, stack mostly easy riding with one controlled harder touch. Keep power low, heart rate settled, and RPE calm on the easy days.
For an intensity-focused week, keep the hard days clear and the easy days truly easy. Use power and RPE to steer the hard work, then use heart rate and feel to protect recovery.
In peak summer, shift hard sessions toward cooler parts of the day when you can. Heat does not erase fitness; it changes the strain cost of the same output.
Endurance week: mostly easy rides, one controlled threshold touch.
Intensity week: one VO2-style day, one threshold day, easy support rides.
Long aerobic ride: keep breathing calm and repeatable.
Hot day: lower the strain target before pride lifts the pace.
Do one standardized threshold test after the same warm-up you can repeat next time. Record average power, average heart rate, RPE, weather, sleep, and how the effort unfolded.
Build power zones from that test result, then set heart-rate zones from the same sustained effort. Note that heart rate will lag during short intervals and after hard surges.
Anchor your RPE scale with plain ride language from the test. Write down what endurance, tempo, threshold, and maximal work felt like in your own words.
For the next seven days, ride one controlled threshold session and several easy rides. Compare power, heart rate, and RPE after each session, not just during it.
If power feels off across several similar rides, retest or rescale zones. If heart rate is the odd signal, check heat, sleep, stress, and illness before changing the zone model.
Training zones translate physiology into day-to-day targets when you anchor them with a sound threshold and read power, heart rate, and RPE together. Your next move: run one repeatable threshold test, map all three signals, then validate the zones across a normal training week.
Use power as the main guide for bike output, heart rate for internal strain, and RPE as the tie-breaker. None of them tells the full story alone.
Heart rate responds more slowly than power when effort changes fast. For short hard work, pace by power and RPE, then review heart rate after the session.
Lab testing can be useful, but you can still set practical zones with a repeatable field test. Keep conditions consistent and log RPE so each retest is easier to compare.
Treat heat as extra strain. Keep the ride purpose, but let heart rate and RPE guide small reductions when the same power costs more than usual.